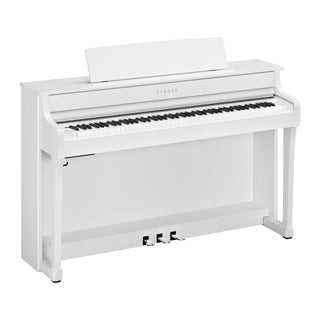
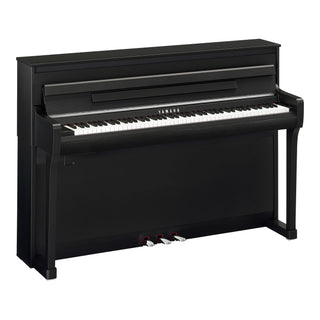
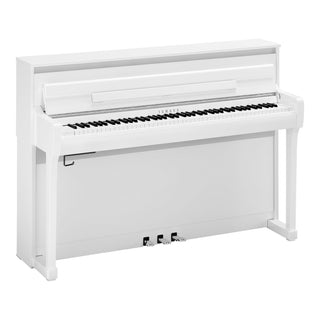
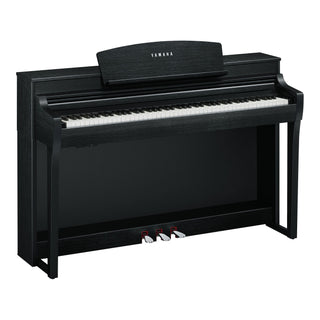
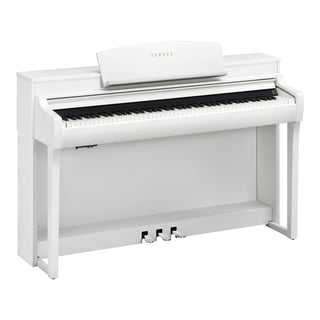
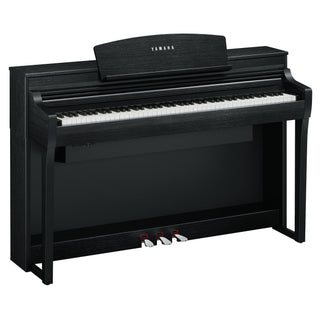
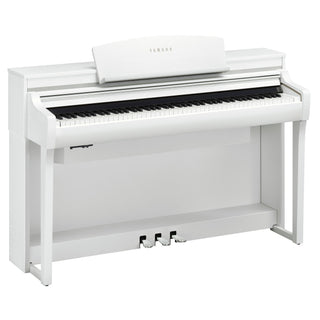
While Yamaha Clavinova digital pianos require less maintenance than digital pianos as they don’t require annual tuning, regular cleaning and maintenance can help extend the life and performance of a Clavinova.
In this step-by-step guide, we walk you through the process of cleaning and maintaining your Yamaha Clavinova.
How Often Should I Clean My Clavinova?
In general, Clavinova pianos should be lightly cleaned once or twice a month to remove debris and can benefit from a deeper cleaning annually. Clavinova pianos that are more frequently used, especially in homes with younger children that may introduce sticky residue to keys, or Clavinovas that are more frequently exposed to pet hair, dust, or debris may require more regular cleaning to maintain lifespan and performance.
Step-by-Step Clavinova Cleaning Guide
The following are the steps for deep cleaning your Yamaha Clavinova.
Step 1: Gather Your Supplies
Before you begin, gather the necessary cleaning supplies:
- New, clean & unwashed, lint-free microfiber cloths (once washed, these cloths can become rougher and can scratch the piano’s surface, so it is best to use a new, unwashed cloth whenever possible).
- Distilled water
- A small dish or container
- Cotton swabs
- A can of compressed air (optional)
- Yamaha-approved piano polish (optional)
Step 2: Power Off and Unplug the Piano
Ensure your Clavinova is powered off and unplugged to prevent accidents during the cleaning process.
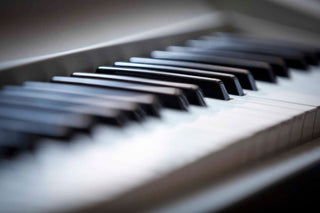
Step 3: Dust the Piano Surface
Start by dusting the piano’s surface and keys. Use a dry or lightly dampened microfiber cloth to gently remove dust and debris from the keys and other surfaces. Be thorough but gentle to avoid scratching the keys or damaging any electronic components. If you have a compressed air can, you can use it to blow away dust from hard-to-reach areas.
Step 4: Clean the Piano Keys
To clean the keys, lightly dampen a microfiber cloth with distilled water. Wring out as much excess water as possible to avoid moisture seeping between the keys. Gently wipe the keys, starting from the back and moving towards the front.
Step 5: Clean the Cabinet
For cleaning the cabinet, use a separate dampened microfiber cloth. You may also use Yamaha-approved piano polish. Apply a small amount of cleaner to the cloth if using, then wipe the piano’s surface following the wood grain or finish direction.
Step 6: Clean Control Panels
Use Q-tips or cotton swabs to clean control panel buttons and switches. Dampen lightly with distilled water if necessary. Ensure they are completely dry before plugging the piano back in.
Final Thoughts
To maintain your Clavinova’s condition, dust and wipe down the piano regularly and consider using a cover when it’s not in use to protect it from dust and potential damage. /;,.b By following these steps and practicing regular maintenance, you can keep your Yamaha Clavinova digital piano in pristine condition for years to come, ensuring it continues to provide beautiful music and joy in your home.


Robert
4 day cleaning,testing, unplugging revplugging blo we ing debris out and off green boards. CLP 250 Had no sign of life when I started working on it, now power stays on and dome statics in the speakers.
im assuming the contacts on the keys may be so dirty that there is no signa. eish me luck ! im so determined to bringbthis 1988 beauty back to life.l